Hey bru. Last month I launched my first app Icing Addict - one of 12 startup projects I’m building this year. This series is a deep dive into how I built it.
Just getting started with Flutter? Check out the first post here. Otherwise try out the features of this post in my two apps.

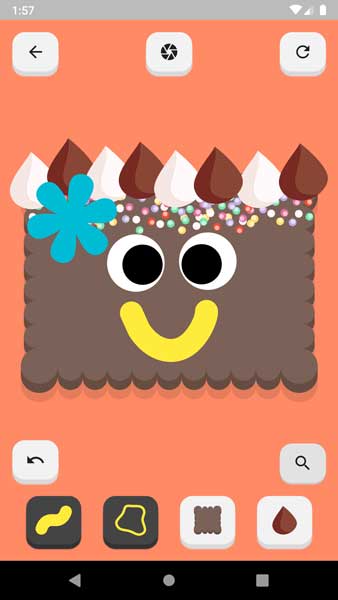
My Icing Addict app is all about creating beautiful cookies, therefore, it’s important that users are able to share their creations.
I do this by allowing users to take and share images of their cookies.
There are two ways I could to do this - render the image, or screenshot the image.
Rendering in this case would mean that I take the cookie, the colours, the decorations etc. and rebuild the image on an offscreen canvas.
By doing this I could generate high quality images of any size. It’s just more complicated to do.
Instead I chose to take a screenshot of the live app. Phones these days are packed with pixels so it’s no problem.
The trick, though, is to not capture the app UI around the cookie. I only want the cookie and decorations in the final image.
My technique allows me to screenshot specific widgets easily, and ignore widgets I don’t want included.
I made this mixin which makes this super easy and exposes the following methods:
screenshotThis - Simply wrap around the stuff you want to screenshot.takeScreenshot({Color, Rect}) - Returns the screenshot image with an optional background colour and crop.Check out the following code to see this in action.
import 'package:flutter/material.dart';
import 'screenshot.dart'; // See my related gist for this code

class ScreenshotExample extends StatefulWidget {
  @override
  ScreenshotExampleState createState() => ScreenshotExampleState();
}

class ScreenshotExampleState extends State<ScreenshotExample> with Screenshot {
  @override
  Widget build(BuildContext context) {
    return Container(
      color: Colors.blue,
      child: Stack(children: [
        screenshotThis(
          StuffYouWantToScreenshot(),
        ),
        StuffYouDontWantToScreenshot(),
      ]),
    );
  }

  doScreenshotStuff() async {
    var screenshot = await takeScreenshot();
    // [screenshot.image] is a StatelessWidget you can render
    // [screenshot.pngBytes] is the raw image you can save/share
  }
}
Notice that I use screenshotThis to wrap only the widgets I want to screenshot.
In my example only the StuffYouWantToScreenshot widget will be visible in the image, and the StuffYouDontWantToScreenshot will be ignored.
One downside to this is that the background colour (Colors.blue in this example) won’t be visible either. Instead you can provided the background colour to the takeScreenshot() call.
All-in-all pretty cool right?
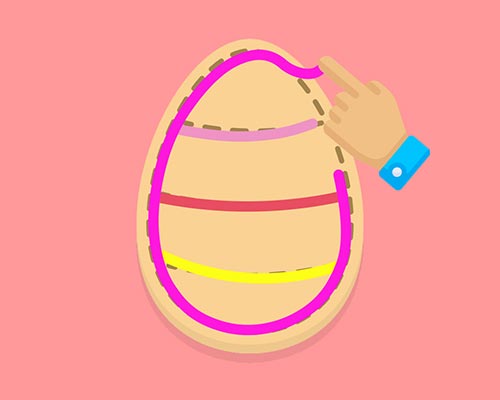
One problem with drawing on a mobile app is that your finger is literally in the way when you’re drawing.
If you’re trying to do anything precise (like play my game which favours accuracy) you can’t always see where you’re drawing.
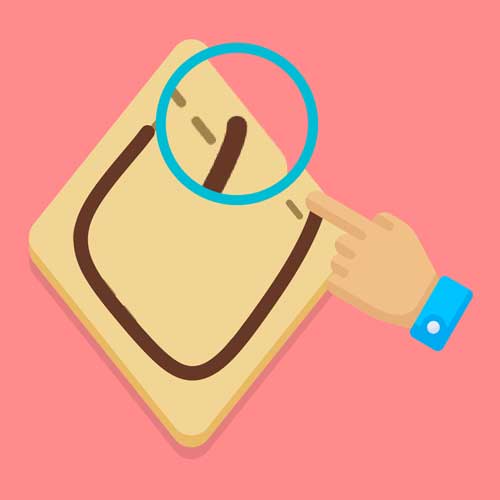
To solve this problem I built a ‘magnifying glass’ feature. It simply shows the user where they are drawing, but next to their finger rather than under it.
This feature works in exactly the same way as the screenshot. The only difference is that it’s done dynamically while the user draws.
Check out my gist here which contains another mixin exposing the following methods:
magnifyThis - Simply wrap around the stuff you want to magnify.magnifyingGlass([Color]) - The actual magnifying glass widget to render with an optional background colour (see the previous section for why you might need this).showMagGlass(bool) - Shows/hides the magnifying glass widget.updateMaGlassPosition(Offset) - Updates the widget position.Use it as follows:
import 'package:flutter/material.dart';
import 'magnifying_glass.dart'; // See my related gist for this code

class MagnifyExample extends StatefulWidget {
  @override
  MagnifyExampleState createState() => MagnifyExampleState();
}

class MagnifyExampleState extends State<MagnifyExample> with MagnifyingGlass {
  @override
  Widget build(BuildContext context) {
    return GestureDetector(
      onPanDown: (DragDownDetails details) => showMagGlass(true),
      onPanUpdate: (DragUpdateDetails details) => updateMagGlassPosition(details.localPosition),
      onPanEnd: (DragEndDetails details) => showMagGlass(false),
      child: Stack(children: [
        magnifyThis(
          StuffYouWantToMagnify(),
        ),
        magnifyingGlass(Colors.white),
      ]),
    );
  }
}
So as you can see it works similarly to the screenshot example.
Just wrap the stuff you want to magnify with magnifyThis, render the widget with magnifyingGlass() and you’re good to go.
I then use a GestureDetector to show, hide, and update the magnifying glass as the user draws.
Just be sure to place the magnifyingGlass() widget outside of the magnifyThis call. If not you’ll get a funky mirror effect like in the video. Cool effect though.
Well that’s it for today. Tune in next week where I go over the icing algorithm itself. Should be an interesting one! See ya 🤙